
Table des matières
ToggleIntroduction to Cleft Grafting
Hello friends, it’s Vincent from Terra’Terre Nursery. In this article, I’m going to share all the secrets of cleft grafting. If fruit trees and grafting interest you, this article is for you. We’ll look at the classic cleft graft as well as its variations. Let’s discover the techniques and tips for successful grafts!
If you prefer video, here it is:
The Classic Cleft Graft
The classic cleft graft is a simple and effective way to graft your fruit trees. Here’s how to do it:
Preparing the Scion
- Choose the scion: select a scion with two buds.
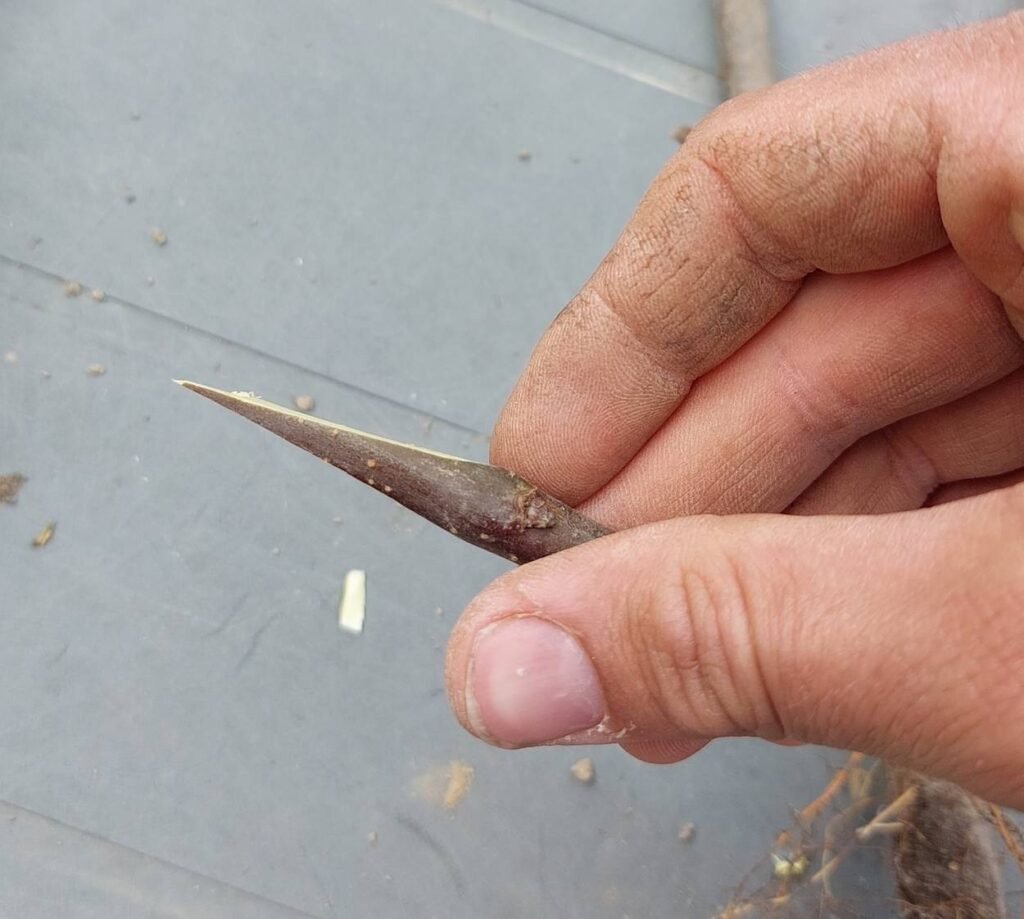
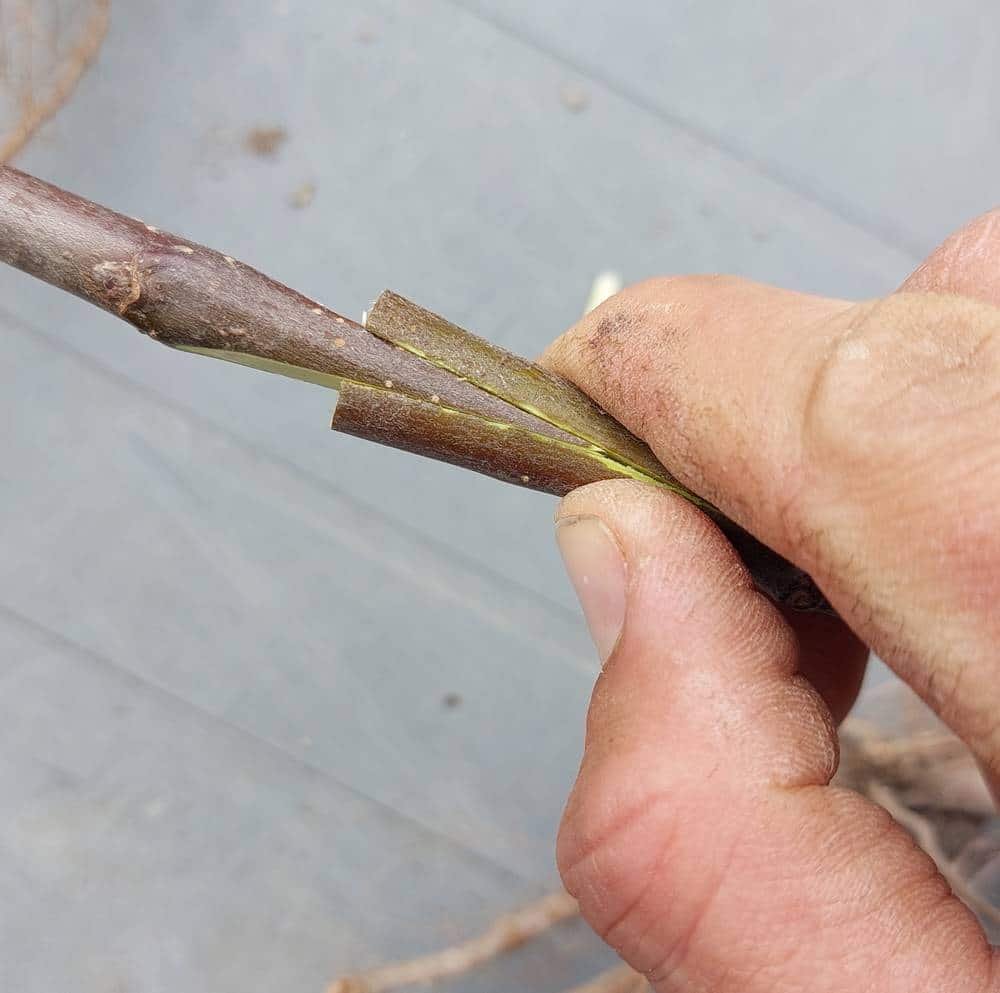
- Shape the scion: form a wedge by making two sloping cuts.
- Cut the scion: make sure the cut is straight and clean so that it slides in easily.
Preparing the Rootstock
- Select the part of the rootstock: choose a section with a diameter similar to that of the scion.
- Make a straight cut: use secateurs to make a clean, straight cut.
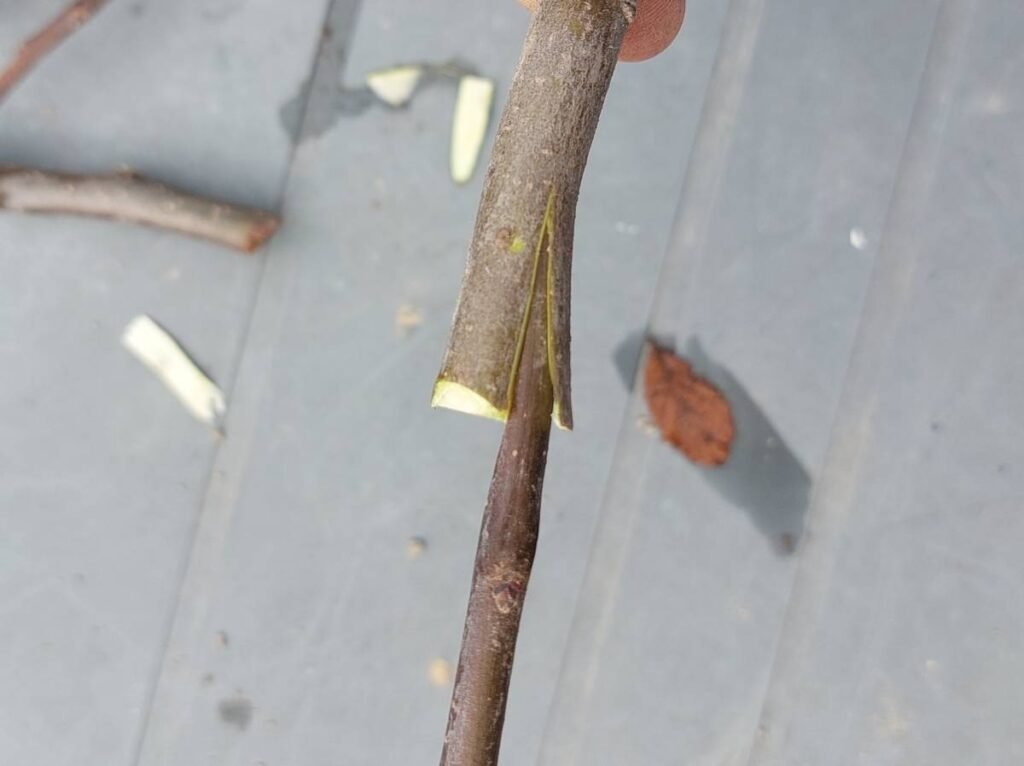
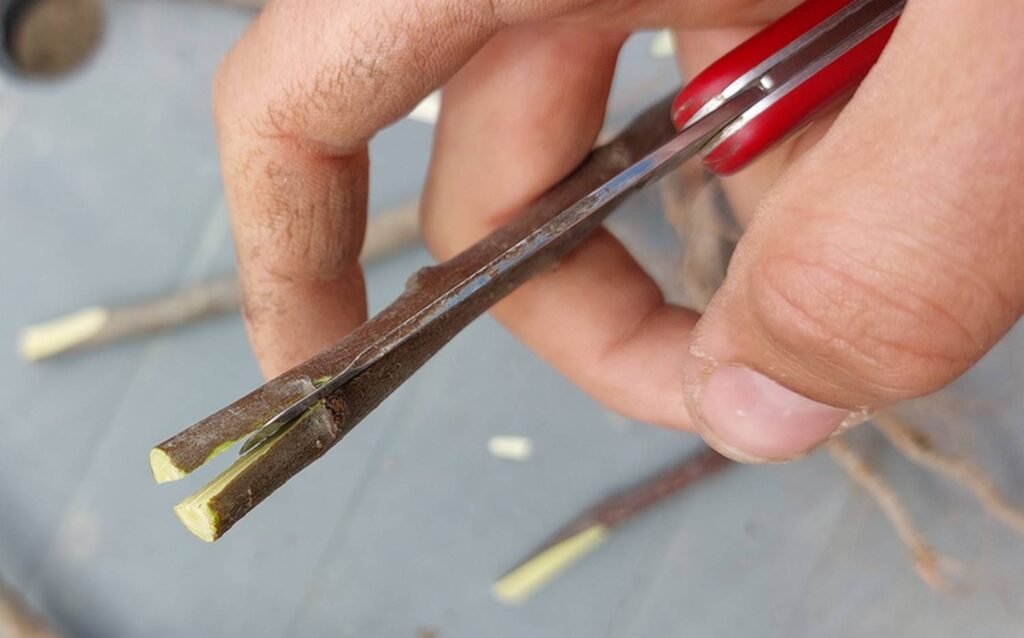
- Split the centre: push a sharp knife into the centre of the cut to make a cleft, and leave the knife in place for a moment to hold the cleft open.
Inserting the Scion
- Insert the scion into the cleft: line up the cambium of the scion with that of the rootstock.
- Make sure the cambium layers touch: this is crucial for the graft union and for the success of the graft.
- Tie and protect: use grafting sealant or wax to protect the grafted area and prevent infection.

Variation 1: Cleft Graft with a Smaller Scion
This variation is used when the scion is thinner than the rootstock.
Preparing the Scion
- Shape the scion: make two sloping cuts, as for the classic graft.
Preparing the Rootstock
- Make a cleft on the side: as for the classic cleft graft, make a cut in the centre of the rootstock. Trim off the part of the rootstock that does not touch the scion.
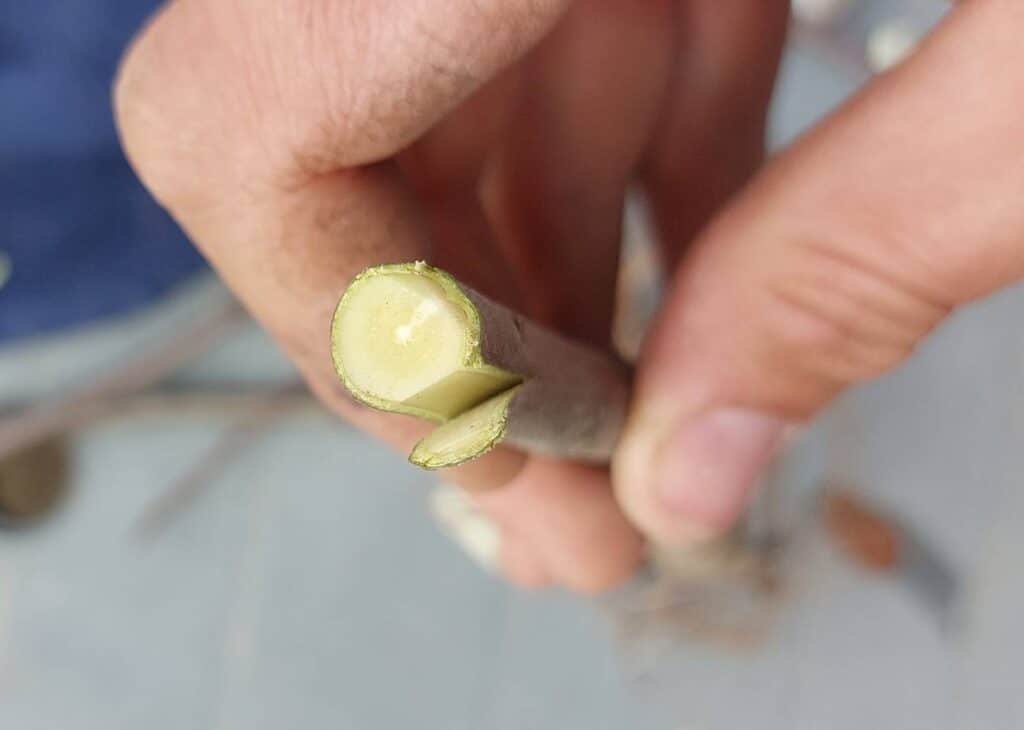
- Insert the scion: press one side of the scion’s cambium firmly against the rootstock’s cambium.
Inserting the Scion
- Line up the cambium on one side: make sure the cambium layers are in contact so that the graft can take.
- Tie and protect: use grafting sealant or wax to protect the grafted area.
Variation 2: Offset Cleft Graft
In this variation, the cleft is offset to make it easier to line up the cambium layers.
Preparing the Scion
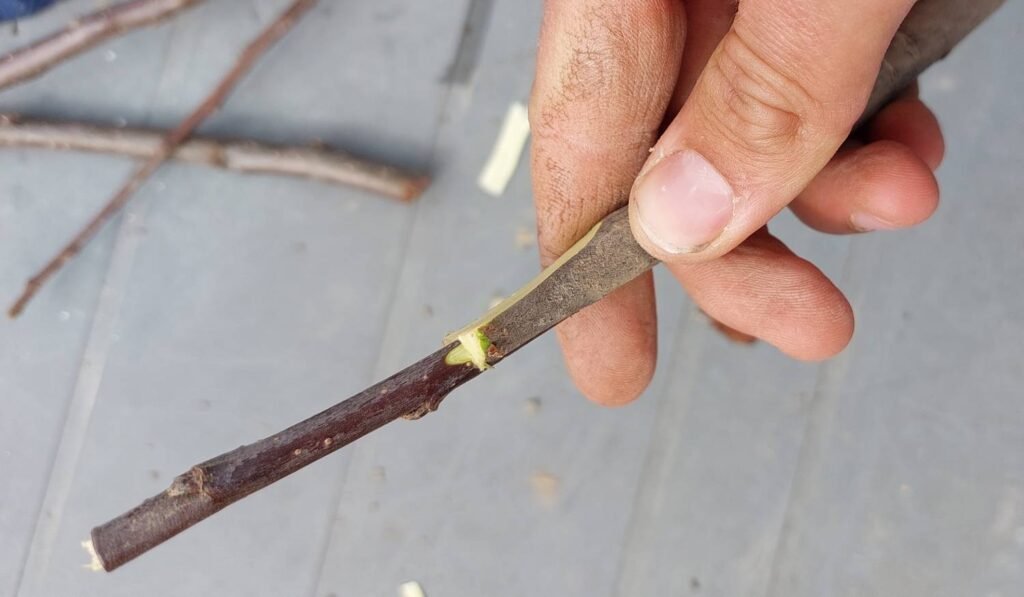
- Make a long slope: make a long sloping cut on one side of the scion.
- Make a short slope: make a shorter cut on the other side to form an asymmetrical wedge.
Preparing the Rootstock
- Choose the edge of the rootstock: pick the spot where the scion’s cambium will best match the rootstock’s cambium.
- Make an offset cleft: make the cleft slightly off-centre so that the cambium layers line up better.
Inserting the Scion
- Insert the scion: line up the cambium layers and slide the scion into the offset cleft.
- Tie and protect: use grafting sealant or wax to secure the graft.
Advantages and Drawbacks of Cleft Grafting
Advantages
- Easy to do: cleft grafting is easy to carry out, even for beginners.
- Versatile: it can be done at the bench or in the field.
- Compatible: it suits many species of fruit tree.
Drawbacks
- Appearance: the graft union can look less tidy.
- Healing: healing can be less clean because of the large wounds involved.
Conclusion
In short, cleft grafting is an accessible and effective technique for grafting your fruit trees. Although the graft union may look less tidy and healing can be more challenging, this method remains an excellent option for amateurs and beginners. If you’d like to explore other grafting techniques, look out for my next videos, where I’ll talk about chip budding and other methods. Feel free to share this article, ask your questions in the comments and subscribe so you don’t miss anything. Happy grafting, everyone!
To see all my fruit trees, head to >> my catalogue <<
And if you’d like to watch all my advice on video, take a look at my YouTube channel: